7 Tips for Tackling Your Wedding Guest List
Besides your fiancé and that little piece of paper from the courthouse that makes it official, the guest list may be the next most important aspect of your wedding.
Why? Because, if you're like me, it includes the name of every. single. person. in the world that matters to you. Heavy stuff, amiright?

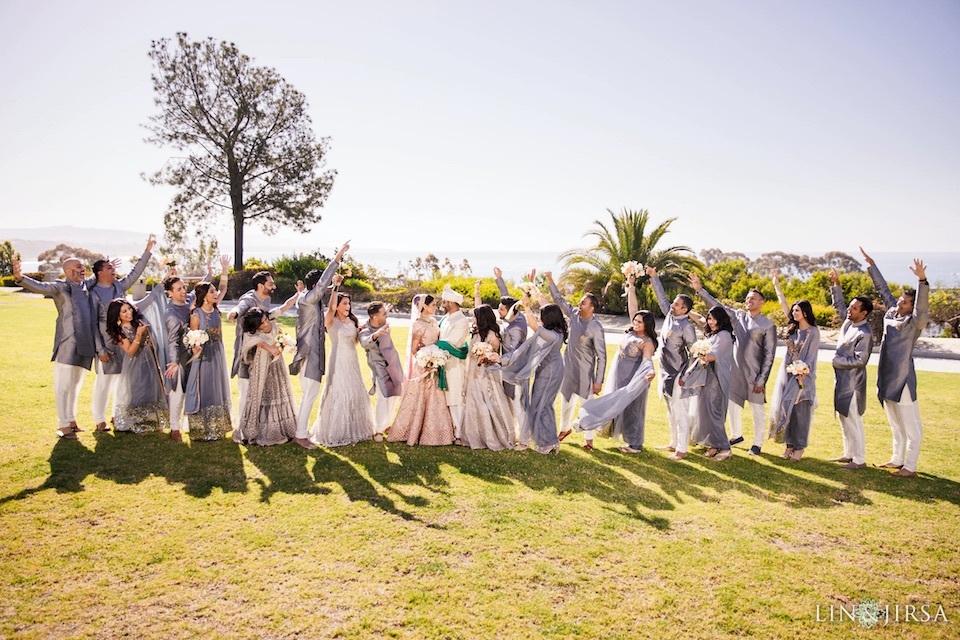
Laguna Cliffs Marriott Resort and Spa | Lin & Jirsa Photography
I thought that compiling my guest list would be pretty easy, but of all the details I had to handle during my wedding planning, it was the one thing I couldn't seem to wrangle. Sometimes the simple act of opening Google Sheets on my desktop made my stomach hurt and my eyes involuntary squeeze shut. If only I knew then what I know now...
Take it from me—with a little preparation and organization, you can put together your guest list like a wedding planning pro. And I'm here to tell you how:
1. Know the type of wedding that you want—and how much you can spend.
Before you can focus on your guest list, you must decide what type of wedding you want and what your finances can handle. Will it be a big bash or an intimate elopement? Local or destination? During peak season or off-season? Kids welcome or adults-only? Casual buffet or multi-course seated dinner? Making decisions about these factors first will enable you to establish your budget and determine how many guests you can invite.
2. Talk with close family members (namely your parents!) about who they'd like to invite.
I made a big mistake in not taking the time to sit down with our parents in the beginning and ask for the names of people whose attendance was important to them. Sure, the subject came up a few times over the phone, but I never actually had "the talk" with them about who they wanted to be there. That resulted in our guest list creeping up slowly—along with my blood pressure. Bottom line: Make sure your guest list includes everyone that needs to be on it. Then review it again, because there's a good chance you missed someone!

3. Invite your A-list…and keep your B-list handy.
Start with your absolutely-must-invite list first. Obviously, your immediate family and BFFs go here. Take a look at that number. Is it under the limit you came up with back in step #1? If the answer is YES, then consider your wedding guest wish list (aka the "B" group), which may include co-workers, as well as more distant relatives and friends you love but haven't hung out with in a while. At this point, feel free to add as many B-listers as you can realistically accommodate. A note of caution, though: when it comes to groups like second cousins and co-workers, my advice is to either invite the entire group or leave those folks off the list altogether. That way, you avoid hurt feelings and awkward family reunions.
4. Decide how many "Plus-One" invitations you want to extend.
Clearly everyone would like to bring a date to the wedding, but you're not required to pay $50/person to wine and dine a bunch of people you've never met. If one of your guests is engaged, is in your bridal party, or has been with their significant other for years, I say give them a plus-one. Otherwise, it's totally up to you. And don't feel bad for inviting some guests solo. You're treating them to food and free champagne, after all! And if you're worried about your solo guests feeling lonely or awkward, a "singles table" is always a great way to get them to mingle.
5. Color code the ever-loving sh!t out of that list.
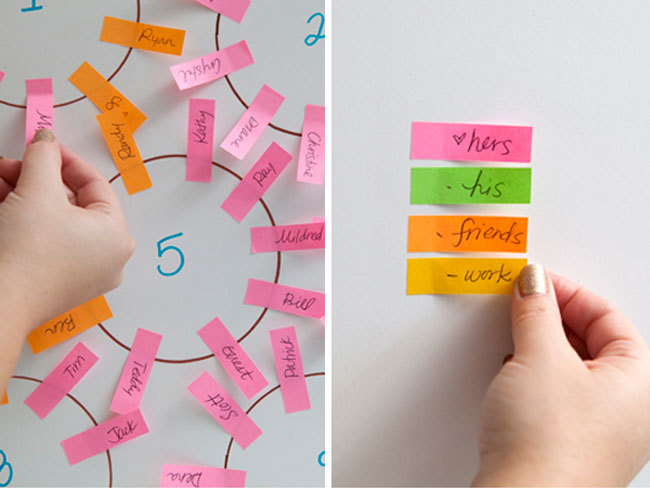
Your fiancé's family, your family, hometown friends, co-workers, college friends, distant relatives. Color code everything. Having a visual reference for each group helps you figure out who you may have forgotten, and it will save you tons of time and hundreds of post-it notes when you tackle that seating chart.

For a color-coded DIY easy seating chart tutorial, check out this post by Something Turquoise!
6. Use your guest list for more than just a head count.
Use it to keep addresses, track your RSVPs, gifts you receive, who's invited to the shower or rehearsal dinner, etc. Number your guest list, and then put each guest's number on the back of their RSVP card when you send them out. That way, when your Aunt Ida sends in a blank card, you won't pull your hair out. You'll sigh in relief, give her a call, get your answer, and move on.
7. Party it up!
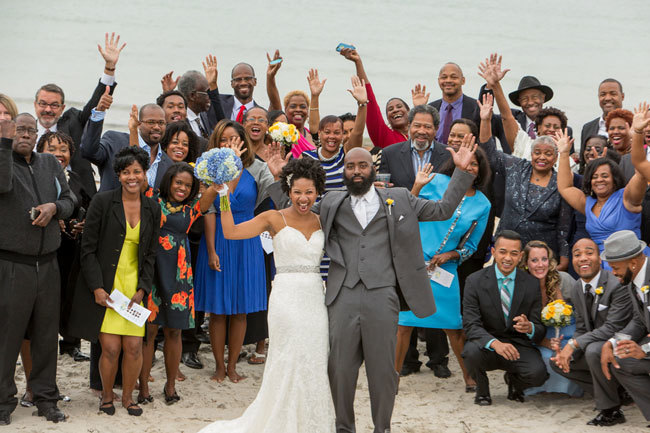
Enjoy this day where everyone you love is together in the same room, celebrating YOU.
Like these tips? We're full of 'em.
Are we friends yet? Join MyGuide for more goodness!
Some clients may have paid to be placed in our editorial and some of these links may be affiliate; however, we never include a venue, vendor, or product unless they have a proper place here. This is part of our Core Values. We create our website first and foremost to be good for the couples using it to plan their Big Day. We won't stray from that for a few advertising dollars. #scoutshonor


